
How to customize volume discount
Style your discounted prices and volume table, then translate the labels customers see.
1. Open Customization
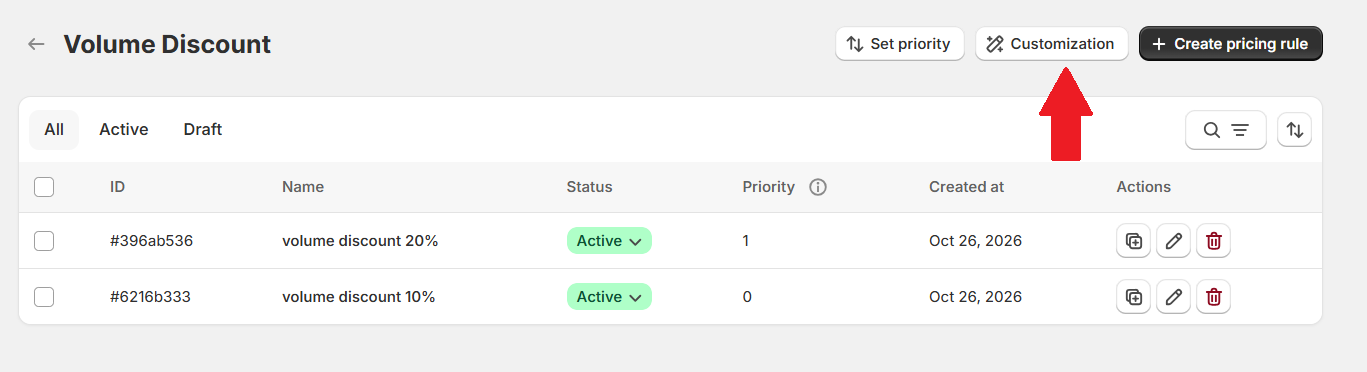
Go to Pricing Management Volume Discount, then select Customization above the rules list.
The editor has three tabs: General, Design, and Translation. The preview beside the settings shows your changes, with phone and desktop controls to switch its view.
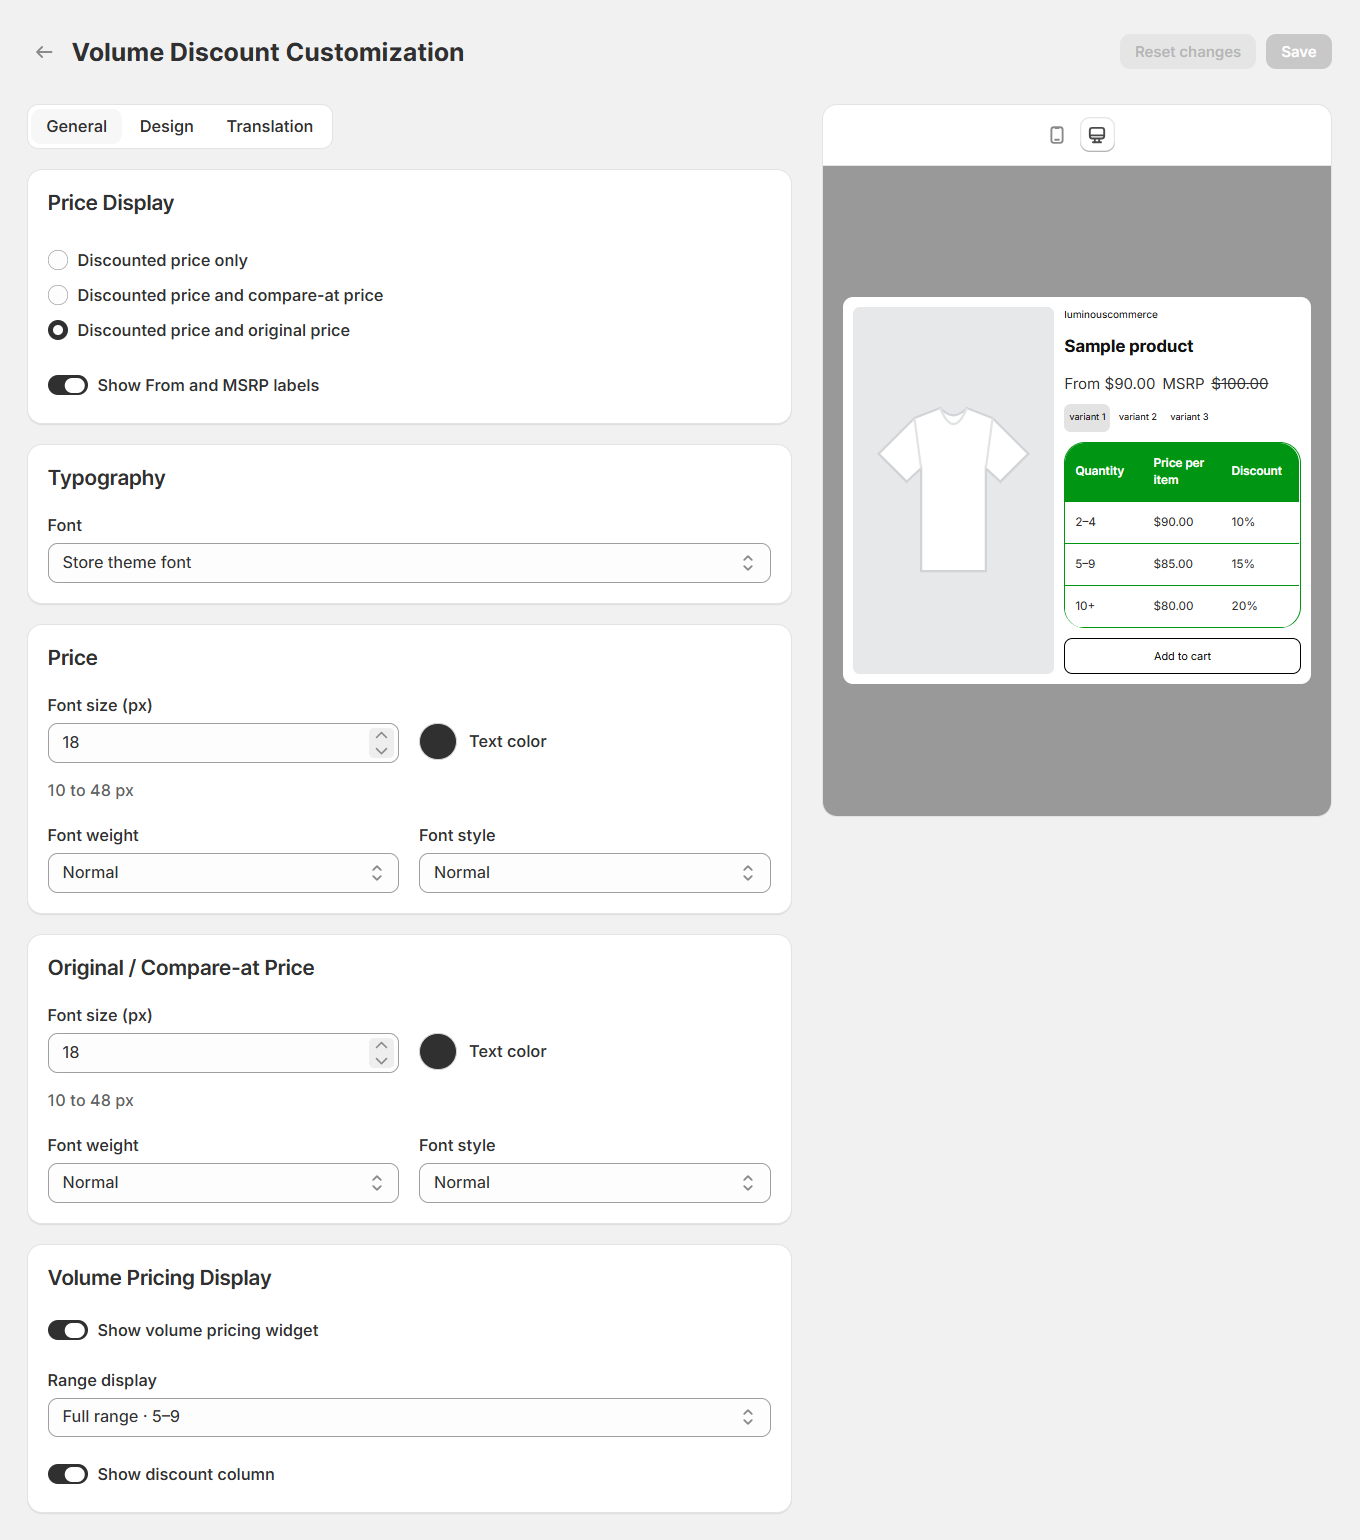
2. Set your display options in General
Price Display
Choose how prices appear on your storefront:
- Discounted price only: shows the discounted price on its own.
- Discounted price and compare-at price: displays the discounted price alongside the compare-at price.
- Discounted price and original price: displays the discounted price alongside the original price.
Use Show From and MSRP labels to choose whether these labels appear with your prices.
Typography and price styling
In Typography, choose Store theme font to match your theme, or select another available font.
The Price and Original / Compare-at Price panels have separate controls:
- Font size (px): set a size between 10 and 48 pixels.
- Text color: choose the color of the price.
- Font weight: adjust how bold the price appears.
- Font style: choose a text style, such as normal or italic.
The original or compare-at price styling appears when your display option includes that price.
Volume Pricing Display
- Show volume pricing widget: turn the discount table on or off.
- Range display: show the full range, such as 5–9, or a starting quantity, such as From 5.
- Show discount column: choose whether the table includes the discount alongside the quantity and price per item.
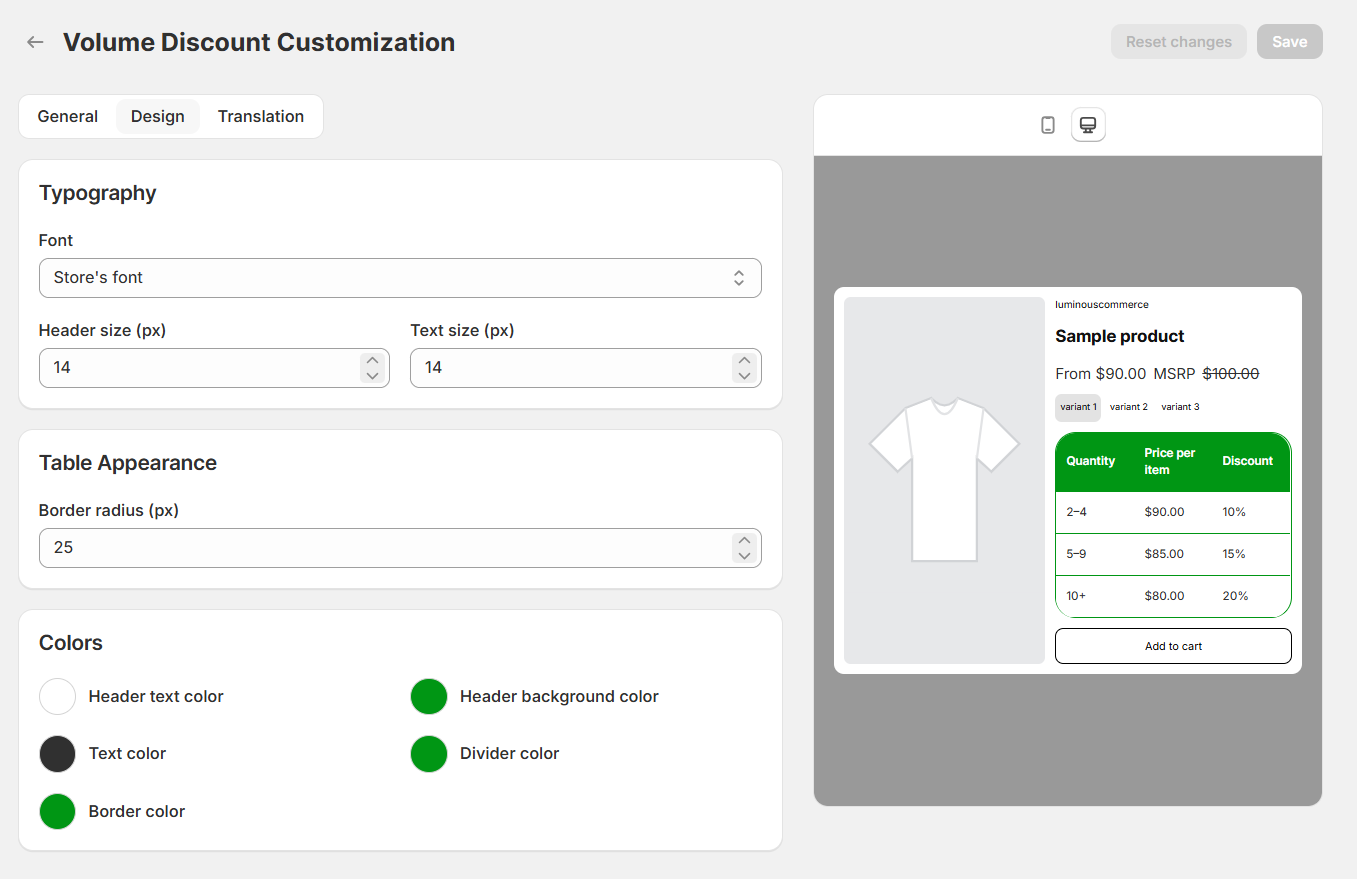
3. Style the table in Design
Typography
Choose the table’s Font, then set Header size (px) and Text size (px) separately. The example uses the store’s font with 14-pixel headers and body text.
Table Appearance
Set Border radius (px) to control how rounded the table corners look. The example uses 25 pixels.
Colors
Choose colors for each part of the table:
- Header text color: the column labels.
- Header background color: the area behind the column labels.
- Text color: the values in each row.
- Divider color: the lines between rows.
- Border color: the table’s outer edge.
Keep text easy to read against its background. The example shows white header text on green, with dark text in the rows below.
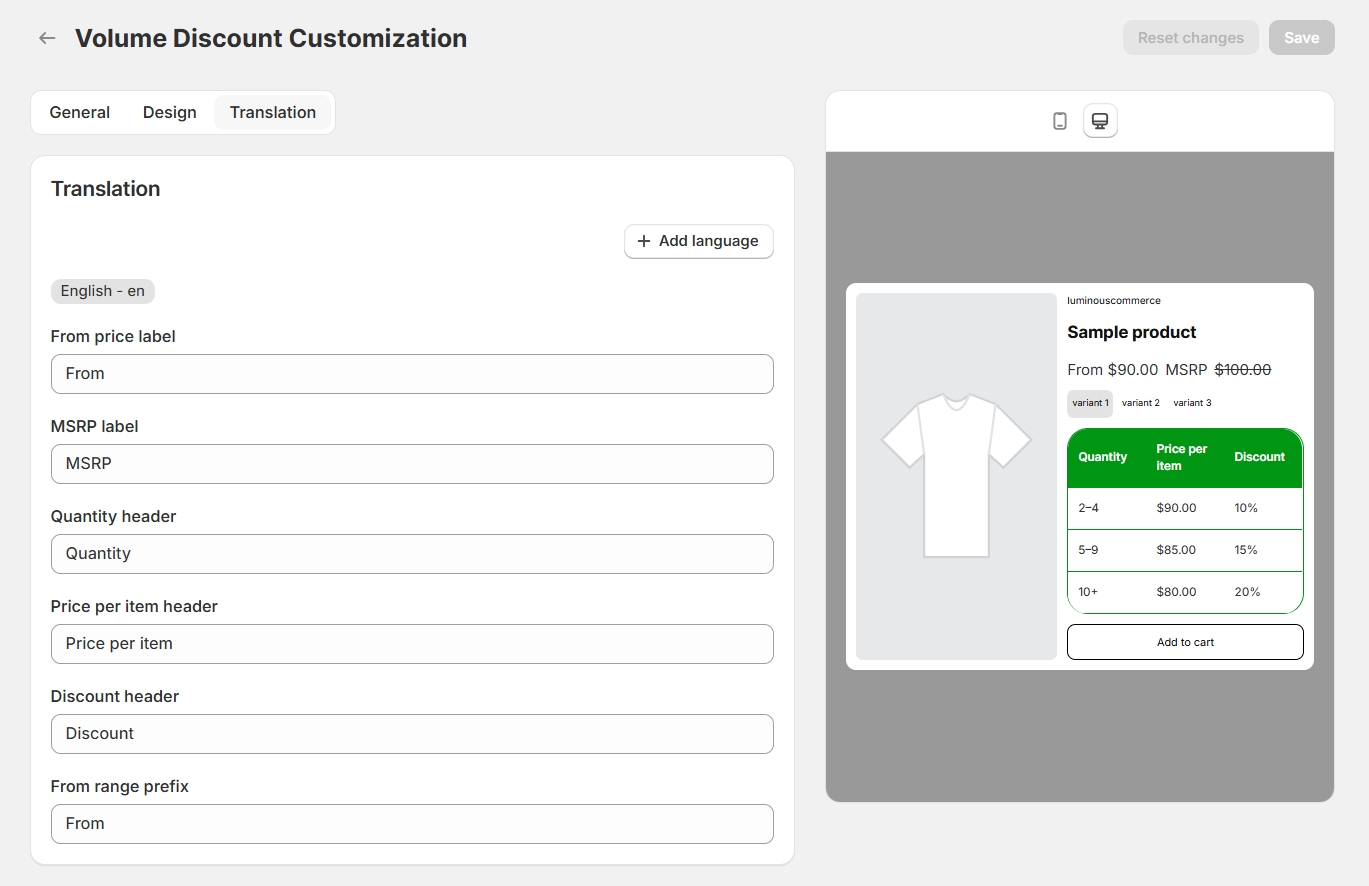
4. Translate the labels
Open Translation. Select the language you want to edit, or choose Add language to add another language.
Enter your wording for each field:
- From price label: text before a starting price.
- MSRP label: text beside the reference price when enabled.
- Quantity header: the heading for the quantity column.
- Price per item header: the heading for the unit-price column.
- Discount header: the heading for the discount column.
- From range prefix: text before a starting quantity when using that range display.
Repeat for each language you want to provide. These fields let you enter your own translations.
5. Save your changes
Click Save to apply your customization. Reset changes discards unsaved edits.
To change the quantities, discounts, or eligible customers, edit the volume discount rule itself.